
In today’s blog, we will look forward to basic image operations using OpenCV in Python.
Previously, I explained how to analyze an image by plotting its histograms. Looking at an image’s histogram provides multiple advantages. One of them is drawing and writing on image.
Before I introduce you to logic operations on image, drawing and writing on an image will make you feel good to warm up for this blog.
It’s fairly common to want to mark detected objects in some way, so we the humans can easily see if our programs are working as we might hope. An example of this would be one of the images shown before:

For this temporary example, you are encouraged to use your own image. The drawing and writing on image can be done using the histogram as well as using built-in functions in OpenCV. I will cover basic functions from the OpenCV in this blog.
import numpy as np
import cv2

img = cv2.imread('watch.jpg',cv2.IMREAD_COLOR)
Next, we can start drawing, like:
cv2.line(img,(0,0),(150,150),(255,255,255),15)

cv2.imshow('image',img)
cv2.waitKey(0)
cv2.destroyAllWindows()
The cv2.line() takes the following parameters: where, start coordinates, end coordinates, color (bgr), line thickness.
Alright, cool, let’s get absurd with some more shapes. Next up, a rectangle:
cv2.rectangle(img,(15,25),(200,150),(0,0,255),15)
The parameters here are the image, the top-left coordinate, bottom right coordinate, color, and line thickness.
How about a circle?
cv2.circle(img,(100,63), 55, (0,255,0), -1)
The parameters here are the image/frame, the center of the circle, the radius, color, and then thickness. Notice we have a -1 for thickness. This means the object will actually be filled in, so we will get a filled-in circle.
Lines, rectangles, and circles are cool and all, but what if we want a pentagon, or octagon, or octdecagon?! No problem!
First, we name pts, short for points, as a NumPy array of coordinates. Then, we use cv2.polylines to draw the lines. The parameters are as follows: where is the object being drawn to, the coordinates, should we “connect” the final and starting dot, the color, and again the thickness.
The final thing you may want to do is write on the image. This can be done like so:
font = cv2.FONT_HERSHEY_SIMPLEX
cv2.putText(img,'OpenCV Tuts!',(0,130), font, 1, (200,255,155), 2, cv2.LINE_AA)
Well, drawing and writing on an image don’t feel comfortable? Then, let’s check out how to do some basic arithmetic and logic operations on an image.
To do this, we will require two images of equal size to start, then later on a smaller image and a larger one. To start, I will use:
First, let’s see what a simple addition will do:
import cv2
import numpy as np
# 500 x 250
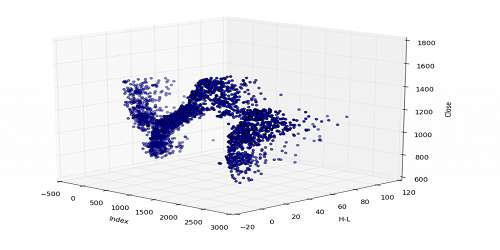
img1 = cv2.imread('3D-Matplotlib.png')
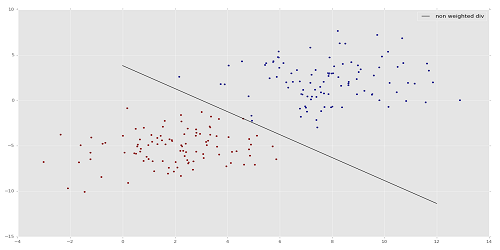
img2 = cv2.imread('mainsvmimage.png')
add = img1+img2
cv2.imshow('add',add)
cv2.waitKey(0)
cv2.destroyAllWindows()
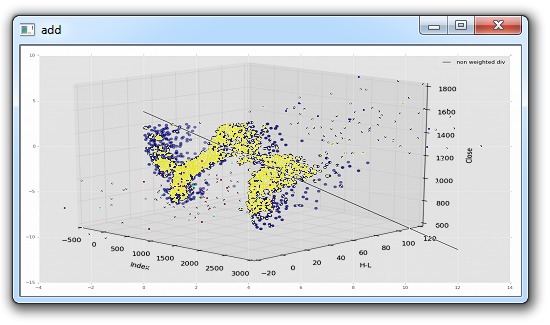
It is unlikely you will want this sort of messy addition. OpenCV has an “add” method, let’s see what that does, replacing the previous “add” with:
add = cv2.add(img1,img2)
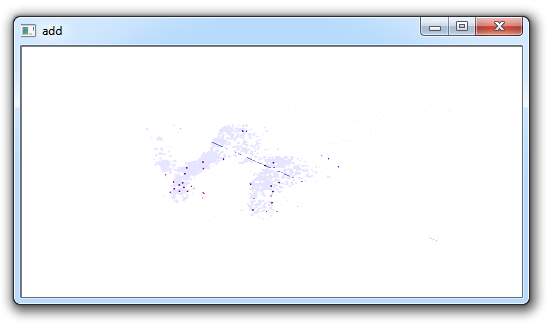
Probably not the ideal here either. We can see that much of the image is very “white.” This is because colors are 0-255, where 255 is “full light.”
Next, we can add images, and have each carry a different “weight” so to speak. Here’s how that might work:
import cv2
import numpy as np
img1 = cv2.imread('3D-Matplotlib.png')
img2 = cv2.imread('mainsvmimage.png')
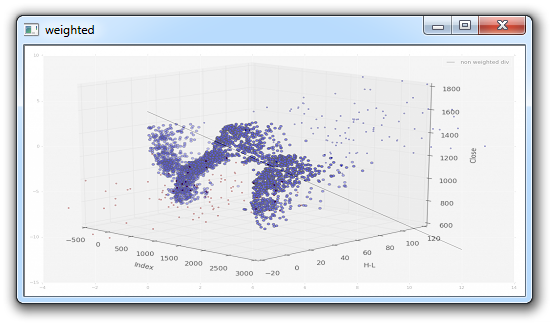
weighted = cv2.addWeighted(img1, 0.6, img2, 0.4, 0)
cv2.imshow('weighted',weighted)
cv2.waitKey(0)
cv2.destroyAllWindows()
For the addWeighted method, the parameters are the first image, the weight, the second image, that weight, and then finally gamma, which is a measurement of light. We’ll leave that at zero for now.
Those are some addition options, but what if you quite literally want to add one image to another, where the newest overlaps the first? In this case, you would start with the largest, then add the smaller image(s). For this, we will use that same 3D-Matplotlib.png image, but use a new one, a Python logo:

Now, we can take this logo, and place it on the original image. That would be pretty easy (basically using the same-ish code we used in the previous tutorial where we replaced the Region of Image (ROI) with a new one), but what if we just want the logo part, and not the white background? We can use the same principle as we had used before for the ROI replacement, but we need a way to “remove” the background of the logo so that the white is not needlessly blocking more of the background image. What about doing a bitwise operation? Well, we have talked about it here where you can check.
Bear in mind, try and do the codes by understanding image processing logic. There are thousands of codes that you can find online but there is only you that will improve your skills. That’s why, don’t make the same mistake all the programmers make, copying and running other’s codes without understanding it!